
Like most skills in Volleyball spiking is a skill that starts from the legs and footwork.
Without correct movement or timing a player can really struggle to utilize all their power and thus lead to weaker or less accurate spikes.
Due to the importance of timing and footwork I think it is always best to teach new players the correct footwork and approach before worrying about arm swing.
Table of Contents
Footwork and Approach for Spiking
The footwork or approach for spiking is actually very simple and easy to learn however if not taught correctly it can lead to some bad habits which might hinder the players progression later on.
In Volleyball we want to use a 3 step approach when spiking.
For the sake of this explanation I will go with the masses and talk about the approach and footwork for right handed hitters.
The 3 step approach should be one large step with your left foot, followed by two quick and powerful steps. Broken down simply it would go large left step, quick right step, final quick left step.
It is vital that these last two steps are very quick and powerful as this is the momentum that will ultimately give you the majority of your height when jumping and spiking a ball.
Once we have the required steps and approach understood it is time to work on timing and speed.
A great way to improve timing and approach technique is by placing an obstacle in front of the players.
This can be anything from jumper, ball bag or even another player.
Place the obstacle in front a large stride length in front of the players and again ask them to perform their 3 step approach.
However this time the players want to aim to take their large left step up to the obstacle before hopping over the obstacle to perform their quick two step approach.
This is fantastic at forcing players to adopt the correct technique, timing and ultimately prepare them to use all their momentum to perform the vertical jump later.
Approach and Catch
Now the players understand the correct technique and approach it is time to train them to jump with both arms rather than allowing one arm to drop down and ultimately put the body line out of sync.
For this drill you will need one feeder and at least one spiker.
For this drill the feeder is going to throw the ball up as if it had been set for the player to spike.
The spiker will use the 2 step approach and really use their arms to generate more height from their jump. Once they have propelled their body upwards using the correct approach and arm swing the player is simply going to two hand catch the ball and carefully land ensuring landings are soft and with a slight bend in the legs.
This drill is fantastic for teaching players the importance of jumping with both arms in the air, this not only keeps the shoulders at the same level but also helps train the players to use their weak hand as a guide for their spike.
Approach and Header

Once all players are comfortably catching in the correct region we can move on to the next stage which is teaching players the ideal hitting window location to ensure when they spike the ball they are not reaching for the ball or playing awkward shots.
To perform this drill we keep the exact set up as we just had with a feeder and at least one spiker.
The feeder will throw the ball upwards again as if the ball has just been set.
The spiker will use the approach and again arm swing to perform a nice controlled, powerful vertical jump.
However rather than catching the ball this time I want the spiker to let the ball go through their hands and perform a header.
This helps teach players the importance of keeping the ball in a nice hitting line which can lead to less hitting errors later down the line.
Guide Arm, Hitting Arm Switch
I have seen this drill performed a handful of times by different coaches throughout the years and honestly it has to be one of my absolute favourite drills in terms of creativeness and effectiveness.
Remember earlier when I talked about the importance of keeping both arms up when first jumping as this allows us to use our weak arm as a guide for our swing and it helps keep our body nice and balanced.
This drill is extremely effective in helping players come to terms with jumping with both arms and using one arm as a guide.
To perform the drill you will need tennis balls or something similar.
Give each player a tennis ball and ask them to line up in the basic hitting position.
The way in which this drill works is the player will run with the tennis ball in their weak (non-hitting) hand.
They will then use the 3 step approach and arm swing to jump as if going to spike a ball, whilst they have their hands in the air the player will pass the tennis ball from their weak hand to their hitting hand, once the ball is in the hitting hand they will throw the ball over the net as if they had just spiked a volleyball.
Now I appreciate we haven’t actually touched on how to spike a ball yet so the 2nd part of this movement may look unorthodox but it is meant easier to teach spiking when the footwork, approach, timing and hitting position is understood.
The thought process behind this is it teaches the players to jump, have their guide arm forward before quickly shifting the momentum to bring their hitting arm through.
Trust me this drill is a lift saver in teaching players the correct technique.
Spike Technique
Now there are a few different ways in which the hitting technique can be taught and as the saying goes ‘different horses for different courses’. So as such I will talk about the main two teachings that I feel best describe the correct hitting technique.
The Archer
![]()
So from the above we already know that both arms need to be up to start the hitting action.
Once both arms are up we can adopt the archer technique to get into the correct position.
If you ask the players to imagine they are holding an imaginary bow and arrow.
Once that arrow is ready to go in the bow, we need to pull the string and arrow back so that we can propel it forward.
This is the same when getting ready to spike a ball. We want our guide arm out in front of us with our hitting arm cocked backwards at the elbow.
Once we have cocked our hitting arm back so that our elbow is behind us with our hand inline with our eyes, we want to start our hitting action.
To do this we want to lead with our elbows, we want to bring our elbow upwards and forwards so that we lead the hit with our elbow.
Once our elbows are leading the charge we want to use the lower part of our arm like a catapult coming over the top of our elbow in a whipping action to contact the ball.
As we come over the top of the elbow with our forearm, the guide arm will come downwards across our chest before the hitting arm contacts the ball and comes across the body.
Once each step is practiced we want to piece this all together into a smooth, seamless process.
With the first method out the way let’s move onto the next method
The Nike Swoosh
Again as stated now we know that our arms need to be up and ready after jumping we can also use the Nike Swoosh to help beginners understand the correct position.
Some people may find the archer confusing or even uncomfortable.
If this is the case we can use the Nike Swoosh.
To perform the Nike Swoosh we again want our guide arm out and in front of us we a nice bend in in.
With our hitting our we want this out behind us with our palm facing upwards and a slight bend in our elbow.
Now if you look at the below image of in fact look at yourself in the mirror when doing this action you will quickly see what it is called the Nike swoosh
![]()
Much like the above method from this position we want to lead with our elbow, to do this we want to lift our elbow and drive it forward which will naturally turn our shoulders from facing the setter to facing the net.
From this position we want to bring our forearm over the top of the elbow to contact the ball in the hitting window.
Much like the above we want to bring our guide arm across our chest as the forearm comes over the top of the elbow. Once the hitting arm contacts the ball that arm can continue through to come across the body.
Now I appreciate that it may be a little bit confusing as to what exactly I mean when I say lead with the elbow.
To help with this I will offer one more example which may help better explain this action.
The Fishing Cast

Now I appreciate that many people have probably never attempted fishing in their lives, however with that being said I’m sure if you said to people. ‘pretend to cast an imaginary fishing rod.’
Most people would naturally take their hands up by the side of their heads and then bring their hands forward directly over the top of their head to cast the rod.
This is the same motion we want to adopt when spiking a volleyball. To cast the rod we would have our elbows high and facing forward before bringing our forearms straight over the top of our elbows to cast the rod forwards.
This might not be the most relatable example but if the beginners are really struggling it may be one other way to explain the action.
Hitting Practice
The last part of the arm swing training before piecing everything together is just practicing the actual swing without over complicating it with the jump.
The easiest way to do this is have players line up along the 3m with a ball each.
The players will throw the ball directly up giving themselves enough time to get in the hitting position.
Have the players just practice the hitting motion trying to get the ball over the net and in the court.
Have players repeat this process until the arm swing begins to feel comfortable and doesn’t require such heavy thinking in order to execute it.
If you are a coach and you are going to add pointers throughout the drill, ensure you don’t critique every hit.
Let a player have a few hits and look for repeat errors that may form into bad habits. Don’t criticise 1 mistake as everyone makes mistakes.
Hitting line
Now we have all the components needed to spike the ball successfully we can start doing just that.
This drill is often used to help teams warm up before a game so it is certainly a drill that the players should and will need to learn.
To perform this drill split the team up into 2 halves and send one half to the other side of the court.
For this drill you will need a decent number of balls and also 2 setters or feeders.
The feeders will stand in the basic setting position whilst everyone else lines up behind position 4 ready to spike the ball.
The feeder will throw the ball up (or set) to allow the hitter to carry out a spike.
This helps the players piece together the footwork, hitting and also moving to meet the flight of the ball.
Once the player has hit the ball they will go under the net or round the post to join the other queue.
This drill can continue for as long or as little time as needed.
The main aim of the drill is to get the players feeling more confident and comfortable spiking the ball that has been set for them.
Target Practice
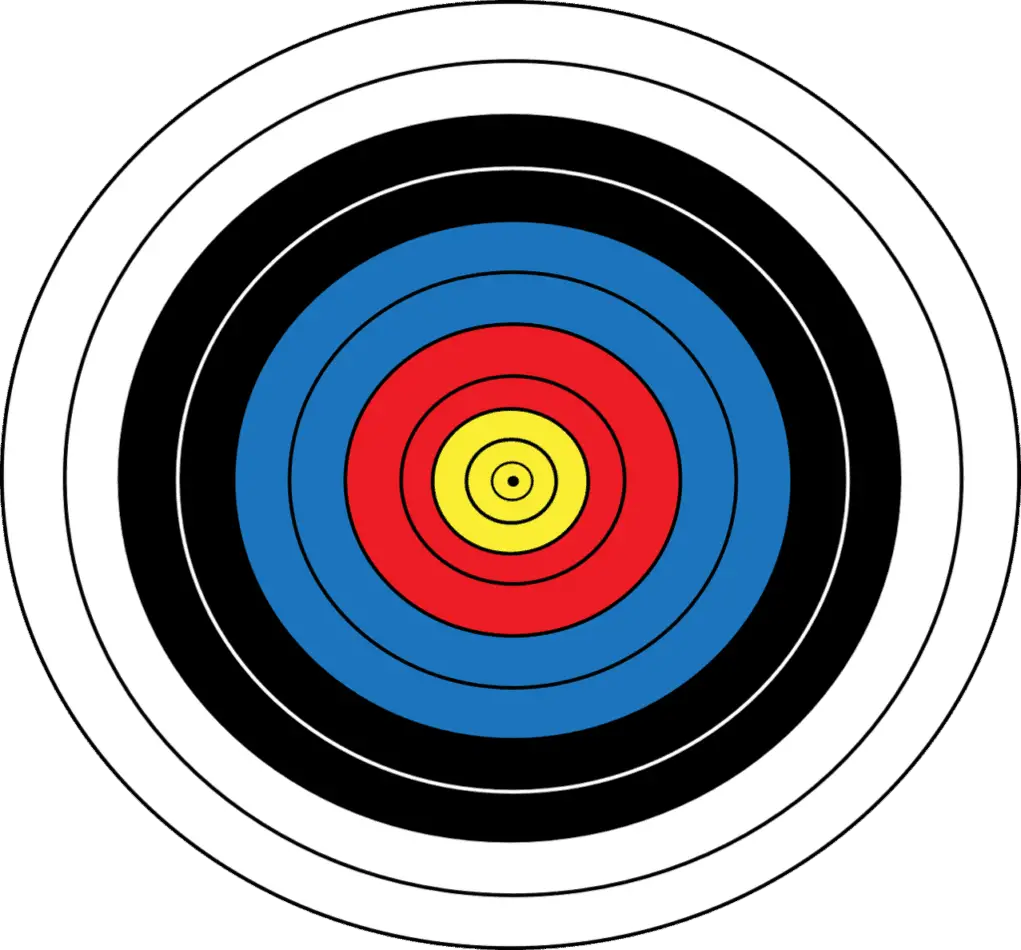
The natural progression from the above drill is by adding in target or zones that the players need to try and hit in order to score points.
Now I know what you thinking, you and everybody else wants to jump and hit the ball as hard and steep as possible when spiking the ball.
Now look I get it.
Spiking hard and steep looks cool, but is it actually that practical?
Against any fairly good team in volleyball they will likely have two blockers making hitting the ball steep very difficult even at youth level.
This is where the game target practice comes into play.
As this is targeted at beginners I would suggest creating 1 line of hitters.
You will also want a setter and a feeder for this drill.
On the other side of the mark out 2 zones.
These zones will run the full length of the sidelines and be approximately 1m in width.
The idea of this drill is to help the attackers hit the ball into hard to reach areas.
If the player is able to land the ball in these zones they receive one point, if the ball does land in the court but not within the zone they receive no points.
If the ball is hit out or doesn’t make it over the net the player will lose a point.
This drill can be ended in a multitude of ways.
If you really want the players to all improve at accuracy you could state that each player must reach 3 points, after which they can get a drink or continue hitting without pressure.
Alternatively if you want to encourage players to take risks you could make it a competition.
In this sense every player could have 10 hits each, the person who has the highest score after each player has had their 10 hits is the winner.
One way in which you could progress this drill is to incorporate different hitting positions such as middle hits and opposite so the players become familiar with hitting different angles and from different positions.
So there you have a whole host of drills you can use to get beginners hitting like pro’s in no time.