
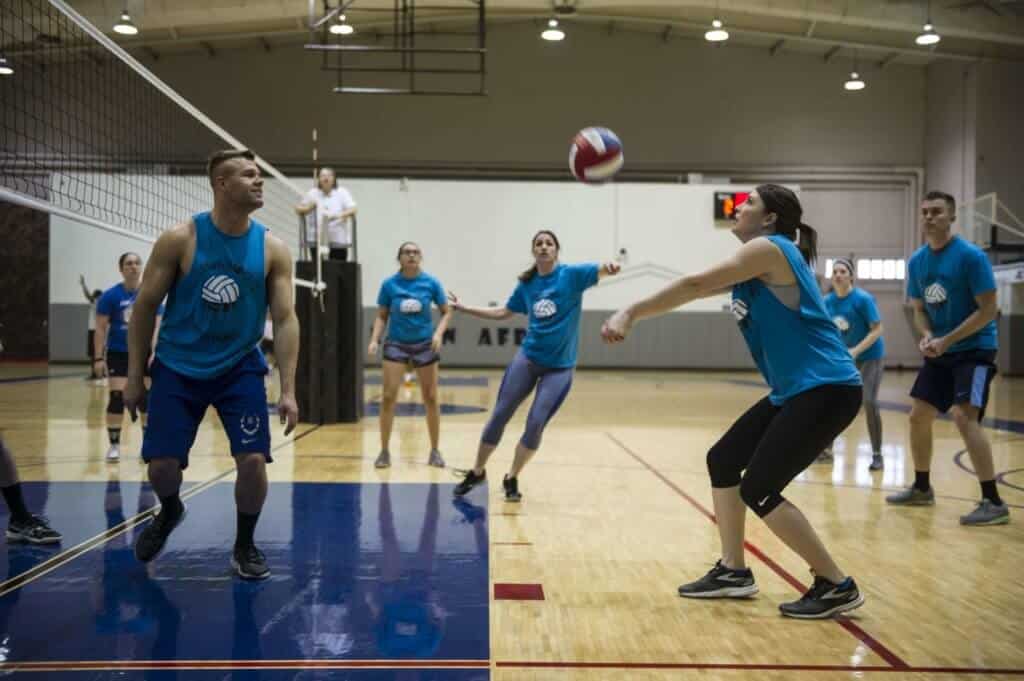
One of the most important skills in Volleyball is passing.
If players aren’t good passers it can really affect your team’s ability to string attacking plays together.
Passing is probably the thing that I see most teams get stuck on and even the most experienced players still make mistakes when passing.
When starting out it is easy to get discouraged with passing as it a very hard skill to master.
With that being said there are lots of drills that can be implemented to get beginners feeling a lot more confident about passing and have them improve in no time.
Table of Contents
Correct Technique
Before getting into any drills I think it goes without saying that the first thing we need to do is go over the most efficient technique.
Now the reason I say the most efficient and not correct, is because everybody has a slightly different approach to these skills and there isn’t anything to say someone else’s technique isn’t correct.
However, with that being said there absolutely is a best practice to make learning the skill easier.
I like to think of it like driving, when you are taking driving lessons for your test, the instructor isn’t teaching you to drive necessarily.
They are teaching you to pass the driving test.
Once you have passed your driving test is really when you learn to drive as you develop your own driving position, technique and tendencies.
Volleyball passing is the same.
So just what is the correct technique?
Well the first we need to know is that passing although carried out with our arms, it really starts with our legs.
The first thing we want to ensure is that we are behind the ball, now I will talk about how to move into the flight of the ball and a clever drill to help with this in a second.
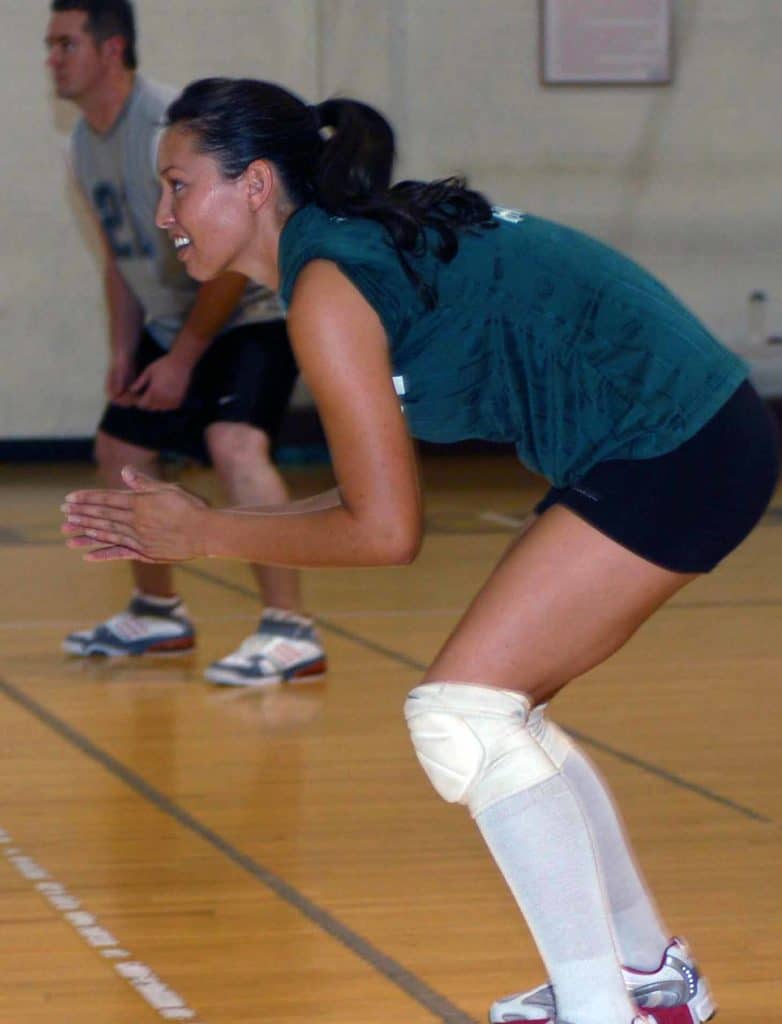
Once we are in the correct position we want to hand our feet just over shoulder width apart with our weight over our toes and our knees bent.
Now the reason we want to adopt this stance is because it allows us to be nice and balanced however by keeping our weight on our toes it allows us to react and direction with speed.
The last thing I mentioned was ensuring your legs are bent with your knees over your toes. Now the reason we want to have bent knees is actually for a few reasons.
The first reason being that control and balance that I talked about earlier, another reason for this is it forces us to put our weight over our toes, the last reason is it allows us to extend our legs when passing so that we can use our body weight and momentum to pass the ball.
Rather than just swinging our arms which really reduces our control and accuracy.
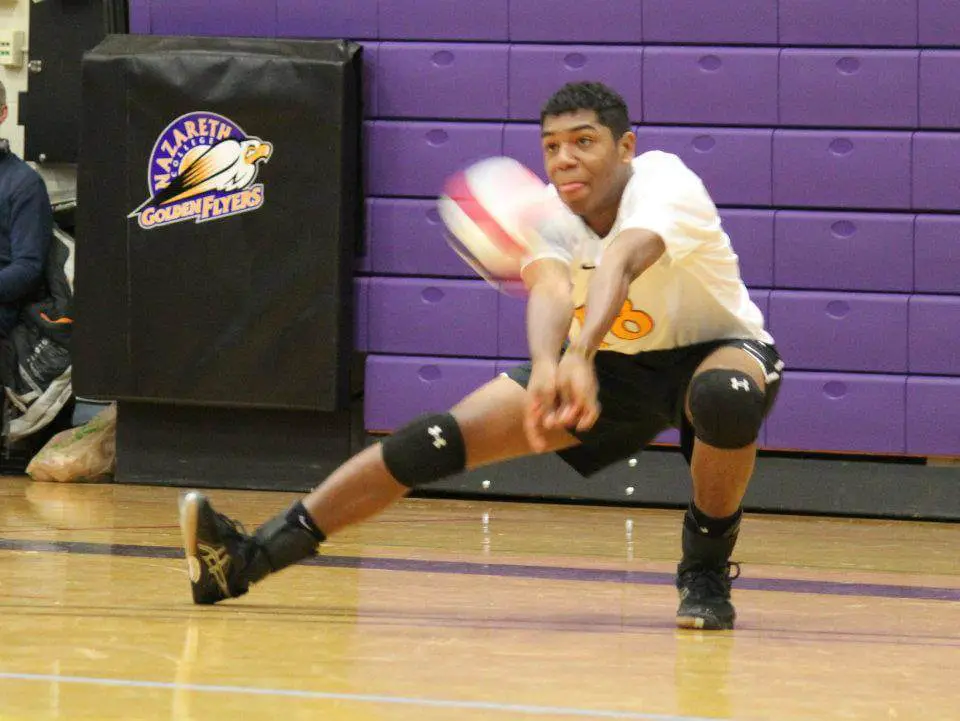
Now we have established what we should be doing with our lower body, it is time to move on to the upper body.
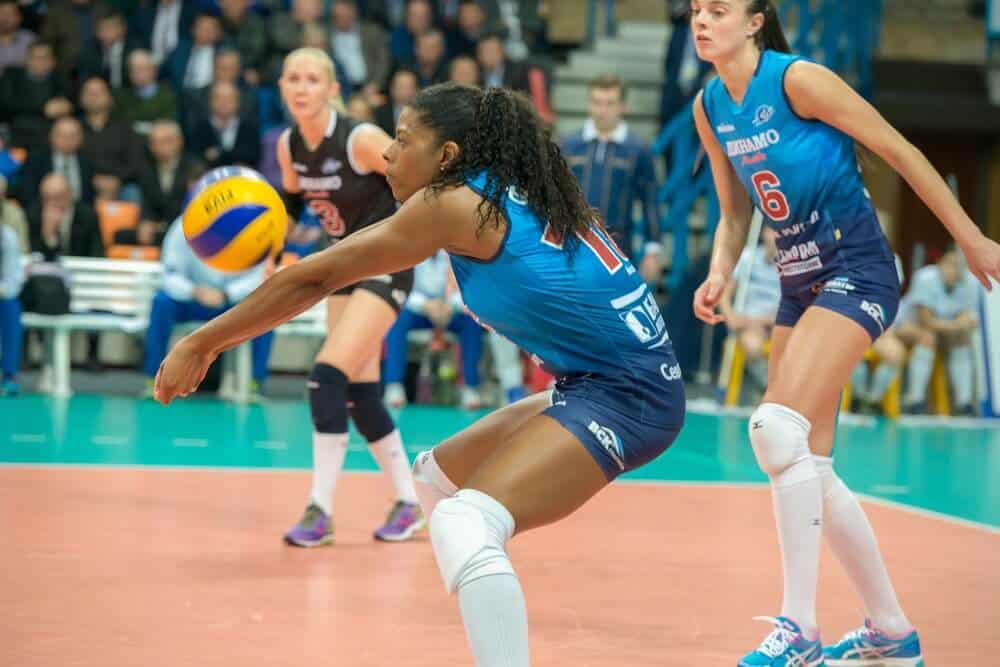
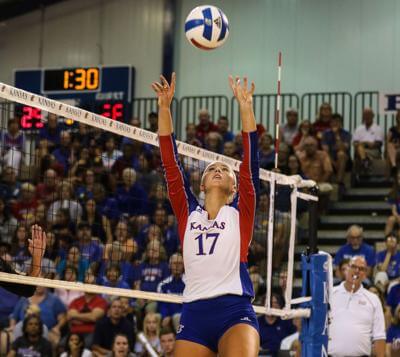
So obviously the most important part of passing is using your arms to form a nice platform.
To create a platform I have a few easy steps to help us get into the most efficient position.
Firstly we need to put both of our arms out straight with our palms facing the sky.
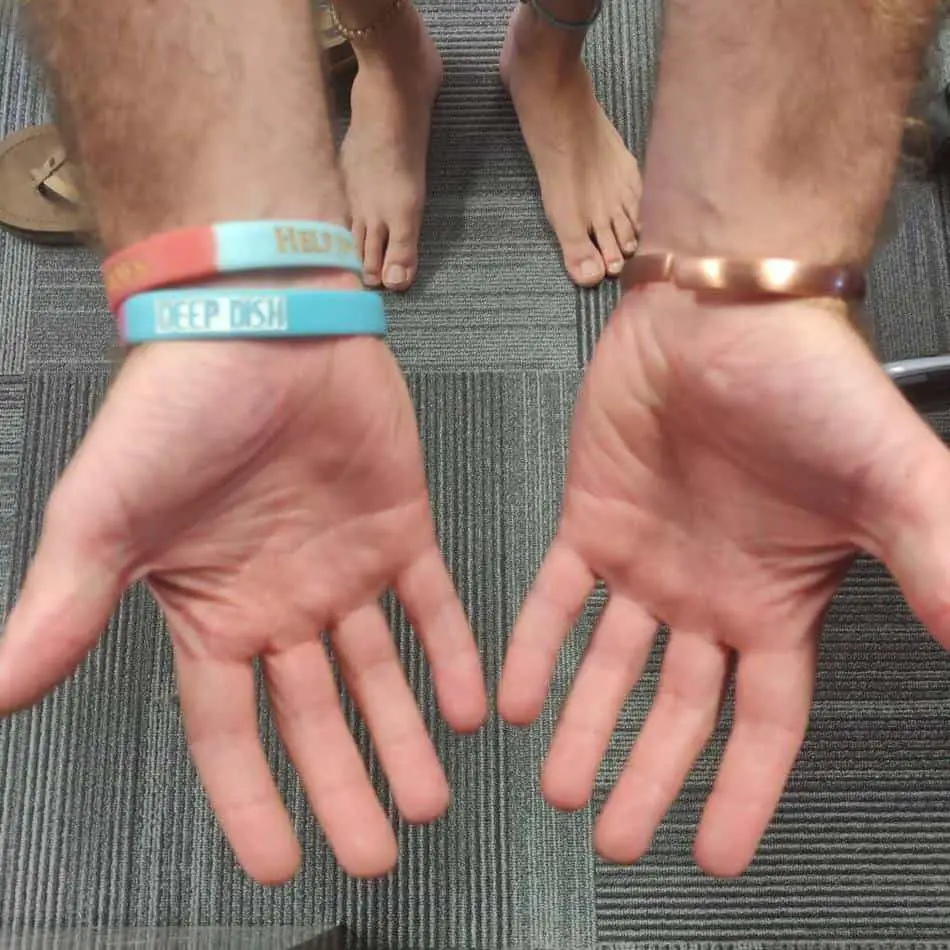
Next take one hand and place on top of your other hand, almost like you are forming a triangle with your hands, arms and chest.
Once you have placed your hand over the top of the other hand, the last step is to fold your thumbs over both of your hands towards your index fingers.
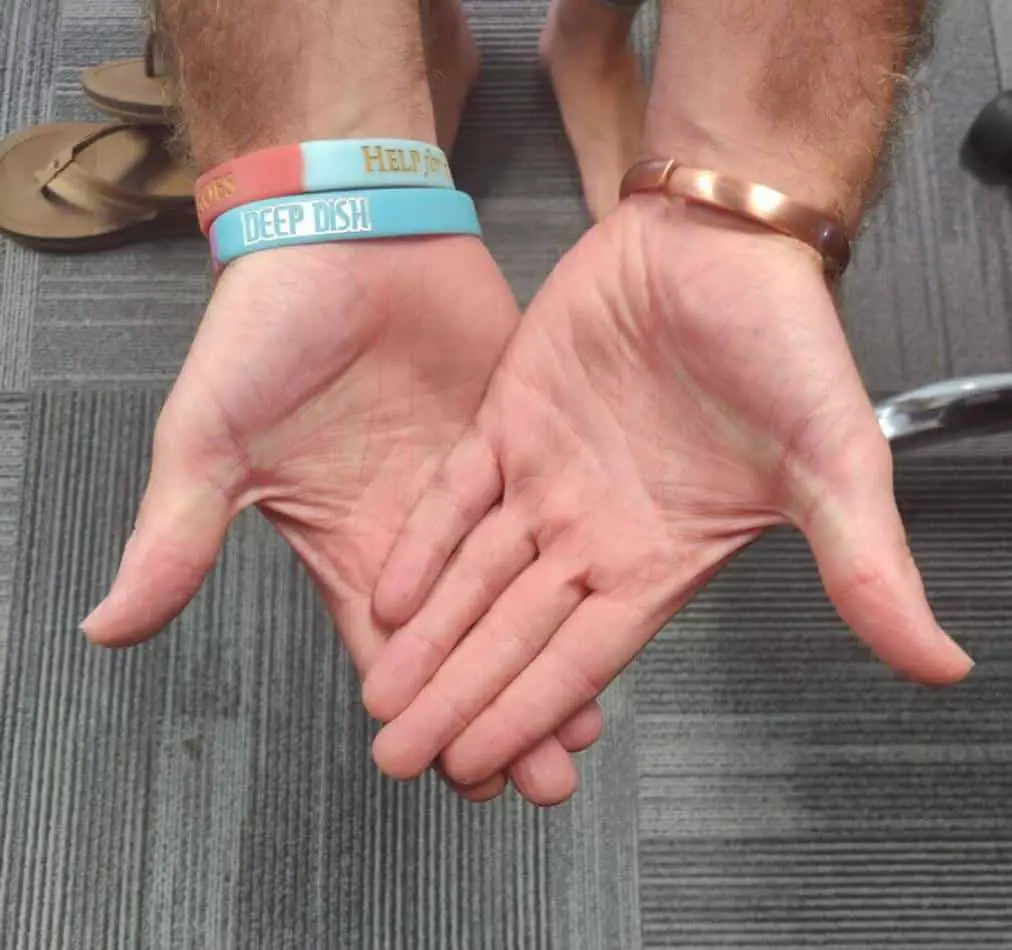
Once the above position is achieved, simply push your thumbs forwards and downwards and you will notice that you have a nice even platform with your arms and you also have a nice wide surface area to play the ball.
Things to consider when creating the platform noted above is remember to keep your platform facing your target and also ensure that you keep distance between your arms and body.
There should be noticeable space in your armpits. By keeping this space in your armpits it allows you to have a greater range of motion to pass with more accuracy.
So we have the lower and upper body all worked out.
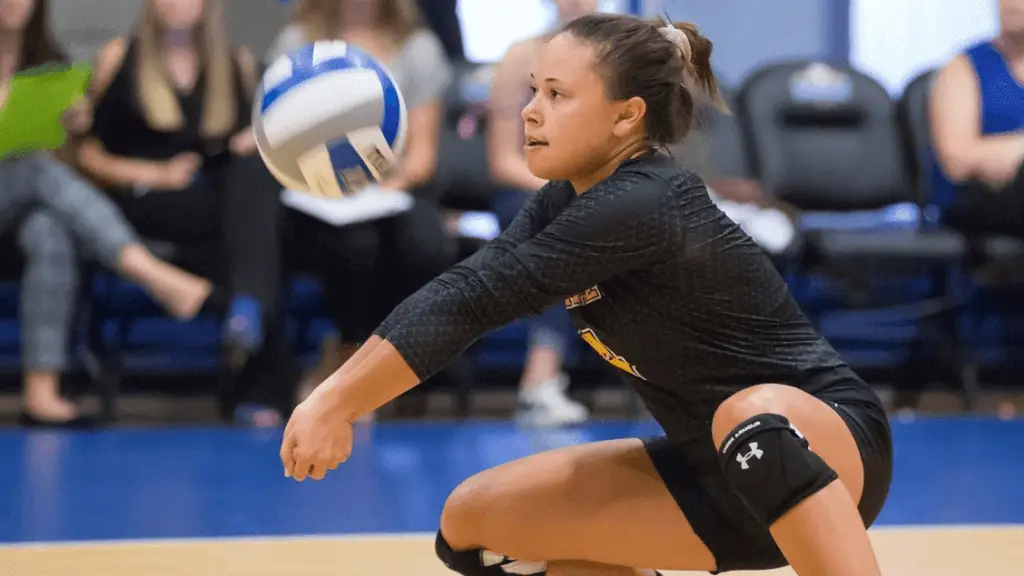
There is one more thing to consider when passing and that is when and where to play the ball.
The idea area to take the ball is between your hips and your knees.
There are a few reasons as to why this is the most efficient place to take the ball however keep in mind this want always be possible.
The main reason to take the ball in this area is because generally it means that your full body is behind the ball meaning you have the most balance, control and ultimately accuracy when passing.
The other reason this tends to be a good region to take the ball is because it means our weight and momentum is moving forward, this really helps in pushing the ball in the desired direction and also helps us from shanking the ball upwards or behind us.
Between the Legs Drill Rolling
Remember when I said above that I have a great drill to teach and help players move into the correct position?
Well I would like to introduce ‘Between The Legs Drill (Rolling)’.
In volleyball the most effective way to move side to side, is by side stepping or side shuffling. One thing we want to avoid in nearly all circumstances is crossing our legs or turning away from the center of the court to play a pass.
This means instead of turning and running into position, then getting into the passing position.
We instead want to start in the passing position and move into the flight of the ball in that same position.
This helps us always be ready and always be in the correct position to play perfect passes.
To help establish this movement into the passing action we can use a drill known as the between the legs drill.
To get this drill going split the teams up into pairs or alternatively if you are learning this drill find a person who can simply roll the ball along the floor for you.
Once everyone is paired up give one person in the pair a ball and ask them to space out approximately 2-3m and ask them to face each other.
The player without the ball should get into the passing position noted above and face their partner.
The person with the ball is going to roll the ball to either the left or right side of the player stood in the correct passing position.
The aim of the person rolling is to force the other player to move to meet the ball.
The aim of the other player is to move to meet the ball whilst staying facing their partner and also not coming out of that passing position.
Once the player meets the rolling the ball their goal is to allow the ball to pass between their legs whilst still stood in the correct passing position.
What we want to emphasize is that the player in the passing position uses the side step or side shuffle to get to that ball. This allows the player to stay at the same height and in the ready position at all times whilst always facing their desired target.
If the player was to come out of the passing position, run to the ball and then have to get back into position, this would obviously be really inefficient and may lead to a lot of errors in game situations.
Have the pairs work on both directions before alternating roles.
Now everyone should have a basic understanding of the correct technique as well as how players should move into position.
Pepper Over The Net (Digging only)
When passing in volleyball we always want to try and give a nice high loopy pass as this allows the setter time to get in position and decide which teammate they would like to set.
A fantastic drill to help players get used to passing the ball high, loopy and towards a target is by peppering over the net.
What I mean by peppering is simply hitting the ball back and forth in pairs.
To carry out this drill put the players into pairs, have one player stand on one side of the court and the other player on the opposite side.
Have both players stand on the 3m line and face each other through the net, this will ensure that in order to keep the drill going the players must play a ball high and loopy over the net.
Simply ask the players to practice digging the ball back and forth to each other over the net, as the drill becomes more comfortable it can be made more difficult and game relevant by passing the ball with the aim to get higher than the antenna height.
If players are able to keep a back and forth pass going whilst keeping a good high peak on the pass we can start to get more specific and more advanced.
If this drill is a struggle it can be made more simple by including a feeder and passer.
Have one player feed the ball over the net and ask the other player to dig the ball back to their opponents.
Repeat this process 10 times before switching roles.
This will allow players to get into a rhythm and really understand what the pass should look and feel like.
Passing To Zones
At this stage in the training we should know the correct technique, understand how to move to get our bodies behind the ball and perform the pass and also understand the importance of passing the ball to the setter with a nice high and loopy arch.
Now we have all of these core components we can really start working on passing accuracy.
Having all these components is great but it isn’t much good to us if we can’t get the ball towards the setter.
This where passing to zones will really help.
Traditionally most teams will set from the 2 position, this is the position closest to the net and farthest to the right on each side.
However when we are passing the ball we really want to aim to get the ball to the setter somewhere between the position 2 and position 3.
This allows the setter to be able to set to any position.
With this in mind it is important to try and get the ball passed in to the right zones.
This drill can be done in many different ways, however, the way in which I like to do this drill is by utilising some small cones to mark out various areas on the court.
I like to place a few large squares down at position 2, The prime spot between 2 & 3, Position 3.
Give each zone a point total, for example, the squares in position 2 and 3 are both worth 1 point whereas the zone located between 2 and 3 is worth 3 points.
Have one player be a feeder, one player act as a setter and then the remaining players all stood behind the baseline.
Have the first player in the line step forward at stand at position 6.
The feeder will throw the ball up towards the player at 6, the 6 player will pass the ball towards the setter trying to get the ball to land in those zones, once the passer has played the ball the player acting as the setter must be able to catch the ball overhead (where a setter would normally take the ball).
Whichever zone the setter is stood in when they catch the ball determines how many points the passer scores.
Repeat the drill until one player reaches 10 points (or over).
Once a player reaches 10 repeat the drill however make the players pass from a different position.
For example if they just passed from 6, the next time make the players pass from position 5.
This way players will get used to passing from different positions and different angles.
Dustbin Lid Target
We are starting to get a bit more advanced with the drills now so if the last drill was quite tricky then I wouldn’t suggest moving on to this one yet.
However if everyone is a rather quick learner and most passes were landing in the scoring zones it may be worth introducing the dustbin lid concept.
We obviously know and understand that the closer to the setter we can get the ball, the easier it is for the setter to distribute the ball with bette accuracy.
This is where the dustbin lid concept comes into play.
The basics of the dustbin lid is get the passers to pretend they are trying to pass the ball within a circumference of a dustbin lid.

An easy way to test this is to have a setter stand at the ideal position, if the setter can catch the ball in a setting position by taking 1 step in any direction then it is within a dustbin lid circumference.
If the setter must take multiple steps then the pass does not count.
As I said this drill is getting quite advanced now as it requires a great amount of accuracy when passing.
However it is important to teach beginners the ideal zones and areas in which they should be aiming for when passing the ball.
If new players can really start nailing this drill every setter will adore them.
Giving The Ball Energy vs Taking Energy Off.
The very last concept that beginners should know when they are learning to pass is when to give the ball energy and when to take energy off.

Now what I mean by this is sometimes to get the ball to the setter will require you to use your body a lot to give the ball enough energy to reach the setter.
However, on the flip side of this, sometimes if the ball is hard driven it will require a lot less input from the passer in order to get the ball the same distance.
It is important for passers to understand when they need to give the ball energy and when they don’t.
Luckily there are some easy drills we can do to teach players this.
Now admittedly there isn’t so much teaching and technique to this drill, it is more about helping players read the situation so they understand when they need to give the ball energy.
One drill that we can do involves splitting the team down the middle and sending half to one side of the court and one to the other.
From these two groups you will also need a setter (or catcher) and a feeder.
Have the players line up towards the back of the court and have the first player from each line step forward on to the court.
Have the feeder have roughly 5 balls next to them ready to give the 1st person 5 balls to practice giving the ball energy and also taking energy off the ball.
The feeder will take the first ball and either underarm throw, push or spike the ball at the passer, the passers job is to try and get the ball to the setter (Catcher) every time.
The feeders role is to make sure each ball in to the passer comes at a different speed.
This will help the passer understand how much power they need to give the pass in order to reach the setter.
By constantly changing up the speed of the feed the passer will gradually get an understanding of how to read the hit or ball in to determine how much energy is needed.
Now you may be wondering why I said take energy off the ball, the reason for this is if a ball is spiked with great force, if you as a passer don’t take some of the energy off the ball it is likely going to ping off your platform and likely go back over the net.
If the drill isn’t working and is slightly too complex I would suggest starting making the feeds much easier to understand.
For example have the feeder give the first two balls under arm, the third ball a slightly harder throw and then 2 spikes.
This way the hitter knows what the speed of the hit will be so they can get an understanding of how much energy is needed for each shot or hit type.
So there you have a start to finish guide of how you can take beginners who are new to passing all the way to passing like pro’s in a matter of a few sessions.
Hopefully you can see how each drill slightly progresses on what was taught previously.